Showing posts with label Dessert. Show all posts

May 14, 2010

Chocolate Truffles


After a couple weeks in Spain it's been nice getting back in the kitchen and especially baking.  I've made some lovely uber-light chocolate butter cookies, churned up a batch of strawberry flecked ice-cream, whipped up a little strawberry jam, and made these fabulous truffles.  You could say I went through a case of withdrawal and I didn't even realize it.

And just to clarify, it isn't all for me...hehe, though I have tried it all. Yum.


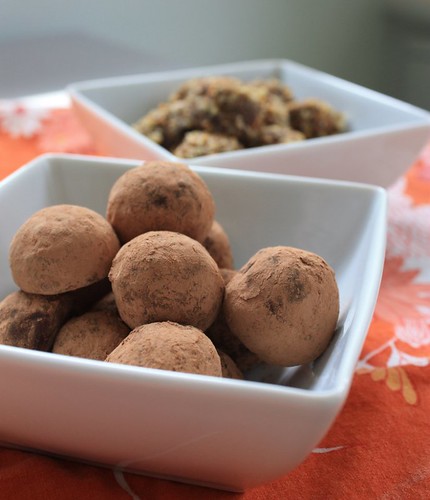
The truffles were actually for a friends birthday party.  The only request from the host was to bring something chocolaty and not cake-like.  Truffles seemed like the perfect solution.   Just to warn you, they are a bit messy, as in all over my hands can't take a picture messy, but as you can imagine well worth it.  As truffles go these were fairly light and worked well as a compliment to the strawberry pie and cupcakes also sat on the dessert table.  I used Cognac as a light flavoring, however they would probably be good with any number of liqueurs.  I can definitely see making a peppermint version during the holidays.
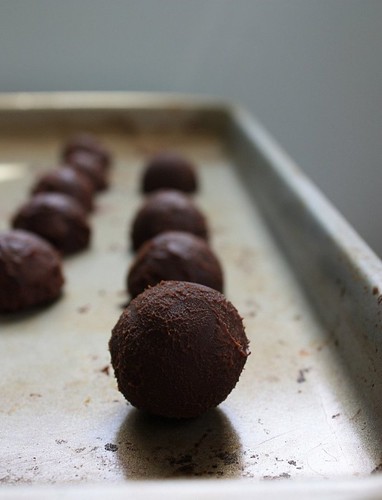

Or using Frangelico as a flavoring and then coating the outside in toasted hazelnuts, that would be nice too.  The base is easy enough which allows for room to play with the other flavors.  If you come up with any good ones please pass them along. 


Chocolate Truffles
from Chez Panisse Desserts

6 ounces semisweet chocolate (either weighed or measured from the bar)
1/2 ounce unsweetened chocolate
5 tablespoons whipping cream
1/2 cup unsalted butter (1 stick)
3/4 teaspoon Cognac, Chartrueuse, Grand Marnier or other flavoring (I used Cognac)
walnuts, almonds, hazelnuts, chocolate, or cocoa powder for coating the truffles (optional)

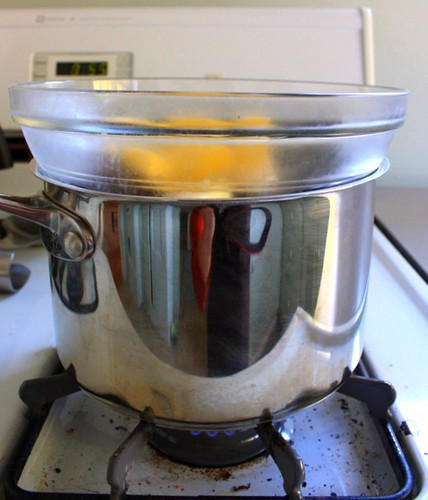
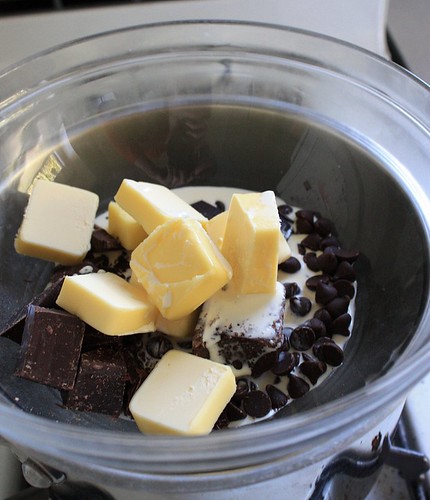
Coarsely chop the chocolate and put in a double broiler (or glass bowl on top of a pot of simmering water) with the cream and butter.  Melt the mixture over hot water (not boiling), stirring until it is smooth and glossy.  Remove from the heat and stir in the Cognac (or other flavoring).  Set aside and chill thoroughly.  Once chilled, line a small cooking tray with parchment paper and prepare a cup of hot water.  Use a melon baller or a small cookie scooper to scoop out the truffles.  Dip the scoop your using into the hot water between each truffle.  This can be somewhat messy, but I found that making sure the chocolate is cold and keeping the water hot helps a bit.  If the chocolates break apart in the process, either pinch or roll them together to keep them as round as possible.

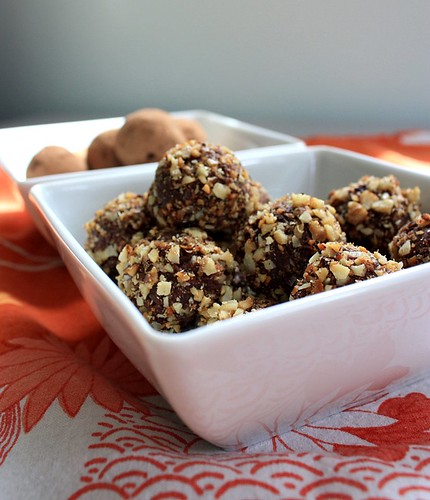
Though the original recipe said it would make 3 dozen, mine only made about 2 dozen - I think my scoop was larger than a melon baller.  Once you've made all of the balls chill them again before serving and before rolling them in fun toppings or they can be served as is.  I rolled my in toasted walnuts and cocoa powder for the party.

Stats: Made 2 dozen 1 inch round truffles
Time: 4 hours, but less than an hour of that was hands on
Seasonal Ingredients: I didn't use any seasonal ingredients, but they were all local (the chocolate was a mix of Guittard and Scharffen Berger) and organic. 

have a wonderful, chocolate-filled, weekend!
alison

Mar 29, 2010

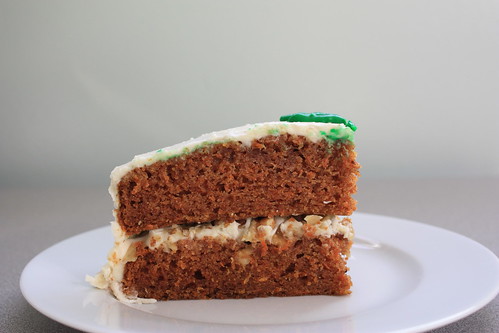
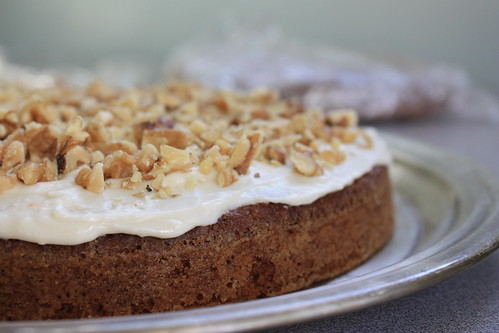
Sunday Picture - Carrot Cake w/ Vanilla Frosting


The Sunday Pic on Monday...I know, I know. To make a long story short just as I was getting ready to post this lovely cake yesterday I lost my internet connection...until about 10 minutes ago. So here we are. I made this cake for a friend's birthday celebration over the weekend. 


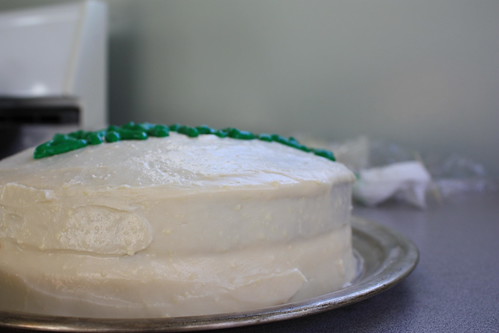
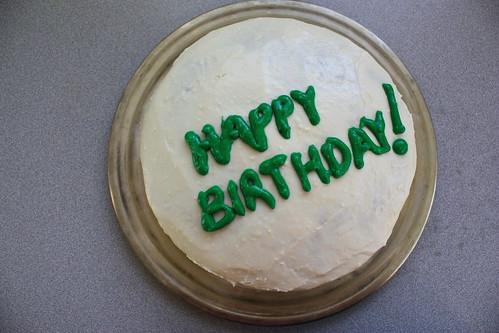
Mind you this is exactly my 2nd tiered cake ever and the first was a 3 layers with green icing, lets just say I went BIG.  But this one needed to not only taste good but also be pretty.  Thankfully I have a lovely pastry chef friend who gave me an icing lesson that helped immensely.  The recipe for this Carrot Cake beauty was pulled from one of my favorite food blogs, Smitten Kitchen.  Although instead of making a maple syrup frosting as her recipe suggests, I used this vanilla one. 


I'll definitely hold on to this recipe as it is amazing! In fact I'm eating the last little piece of it now.


happy cooking this week! 
alison

Mar 23, 2010

Chocolate Stout Cupcakes with Frosting


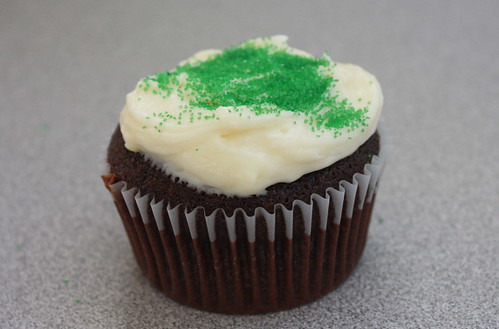
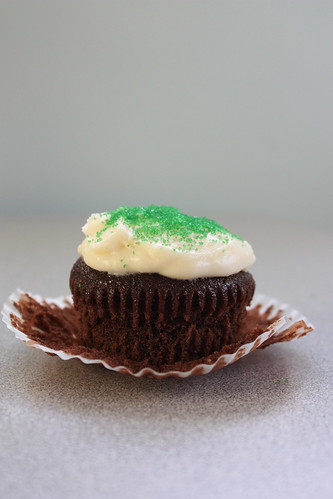
If you have any Guinness left in the house from St. Patty's Day celebrations last week, and you like chocolate and have an inkling for cupcakes then I highly suggest you try these.

I made them exactly a week ago and they will be my go-to St. Patty's Day treats. They were fairly easy for cupcakes, and were a big hit with my fellow revelers after the traditional corned beef and cabbage. Although, shockingly, I've made it 30 years in life and never tried this traditional feast. I'm a little embarrassed to admit that when I said, "we should have this every year" the response was "we do." HA - who knew.


These cupcakes are a bit thicker than normal cakes kind of like gingerbread. The frosting sat nice and creamy on top and was a nice compliment to the denseness of the cake. Though I had them for last weeks "green" holiday, they would also go well with this brisket I made last fall.


Chocolate Stout Cupcakes with Vanilla Cream Cheese Frosting
adapted from this recipe at Pinch My Salt

chocolate stout cupcakes

2 large eggs, at room temperature
1/2 cup plain, non-fat yogurt (full-fat or sour cream would also work, but they would probably be even denser)
6 oz dark stout, at room temperature (I used Guinness)
2 teaspoons vanilla extract
1/2 cup cacao powder (dutch-processed or unsweetened cocoa would probably also work)
1 cup sugar
1 1/4 cups all-purpose flour
1 teaspoon baking soda
1/8 teaspoon ground cinnamon
6 tablespoons melted butter (I used unsalted)

Preheat oven to 350 degrees F and set rack to the center of the oven. Line a cupcake pan with 12 papers and set aside.

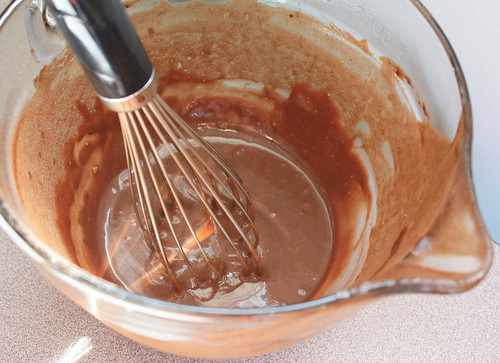
Melt butter and set aside.  In a large bowl, preferably with a pouring spout, whisk together eggs and yogurt.  Add beer and vanilla and whisk until well combined.  In a separate bowl sift together the dry ingredients (cacao powder, sugar, flour, baking soda and cinnamon).  Add about a third of the flour mixture into the wet ingredients and blend well (I whisked by hand, but a hand-mixer would make it much easier). Continue adding a third at a time until the flour mixture is blended into the wet mixture.  Add the butter and mix until well combined.  Pour batter into the 12 cups, filling only about 3/4's full.

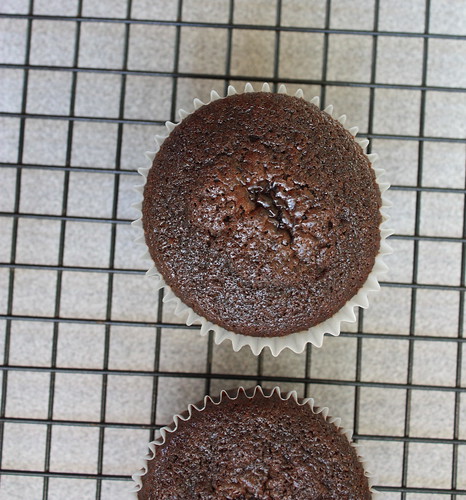
Bake for about 20-30 minutes until the center comes out just barely moist.  The cupcakes will continue to cook in the pan once they are out of the oven.  Place the pan on a wire rack and let cool for 10 minutes.  Remove cupcakes from pan and place on rack until completely cooled.  Wait until cupcakes are cool to frost.

vanilla cream cheese frosting

8 ounces cream cheese, at room temperature
4 tablespoons butter, at room temperature
2 teaspoons vanilla extract
4 cups powdered sugar
green sprinkles (optional)

Using a stand mixer (or hand mixer) blend cream cheese, butter and vanilla until well combined.  Gradually add the powdered sugar, mixing until fully incorporated (I had to scrape down both the sides and the bottom of the bowl several times to combine everything).  Use immediately, or store well-sealed in the refrigerator.  Top with sprinkles.

To frost these cupcakes I used my small cookie dough scoop and dolloped two scoops on top, then using a small off-set spatula I smoothed out the frosting to fully cover the top of the cupcakes and topped with sprinkles.


Stats: 16 cupcakes, and frosting for at least that many plus more.
Time: This took about an hour and half with maybe a bit more in cooling time, but over all it came together easily. The batter can be stored for several days before making along with the frosting.  The frosting should be room temperature when frosting the cupcakes. 
Seasonal Ingredients: Unfortunately none to speak of...oh that's sad.  I'll have to make sure my next dessert has something seasonal.

Feb 24, 2010

tangerine ice cream


Yes. That's right, not sorbet, or sherbet, but yummy creamy citrusy Ice Cream! Yum!

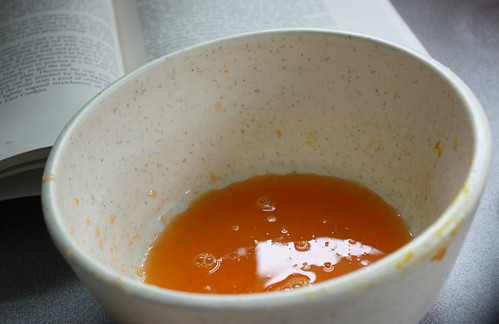
First though, a note about the beurre blanc sauce from yesterday...can I just say I love saying that. Beurre blanc. So I thought when I re-heated it for dinner tonight I would snap a couple photo's and to post along with it. Alas, beurre blanc does not re-heat. I put it in the double broiler and warmed it but it just wasn't the same consistency and the longer I cooked it the more it didn't like to be re-heated. Note to self: try just doing half or a quarter of the recipe next time so that I only make enough for the meal when it is being served. It was still good tonight, but definitely not the same. Kind of a downer really considering after dinner last night I have been looking forward to this all day.


But I do have yummy tangerine ice cream to look forward to for dessert. When making the custard for ice cream, I'm learning that you have to be quick, so I didn't get many pictures. I don't actually have an ice cream maker myself, but my fabulous neighbors let me borrow theirs which attaches right onto the Kitchen Aid, it's brilliant.


This ice cream turned out with just a hint of citrus flavor and specks of orange from the grated tangerine. It is rich and smooth, like the best home made ice creams, and it plays on the citrus flavors that are in season right now.

tangerine ice cream
adapted from Chez Panisse Desserts


3 or 4 tangerines (depending on their size)
2/3 cup sugar
1/2 cup half-and-half
4 egg yolks (I saved the whites for use later this week)
2 cups whipping cream (Note: 1 pint = 2 cups)
a few drops of vanilla extract

Start by washing the tangerines. Remove the peel from 1 tangerine with a vegetable peeler, being careful not to take any of the white pith. Grate the rind of 2 more tangerines and set aside. Juice all tangerines and measure 5-6 tablespoons of juice and set aside.

In a bowl place the grated rind, cream and juice and place a strainer on top, in ready position.

Place the grated peel, sugar and half-and-half into a non-corroding saucepan and heat just to boiling. Remove from the heat and let steep for 5-10 minutes. Whisk the egg yolks to break them up and pour the warm half-and-half mixture into them, whisking constantly. Return to the pan and cook over low heat, stirring constantly, until the custard coats the spoon (ac note: be careful here, it can go from coating to cooked eggs quickly so be sure to keep your eye on it).

Pour the egg mixture through the pre-set strainer into the cold cream mixture. Whisk and add vanilla to taste. This is the custard for your ice cream. Chill the custard completely before using the ice cream maker. All this can be done a day before you want to freeze the ice cream. Freeze according to the instructions with your ice cream maker, pack into an airtight container and freeze.

stats: makes 1 quart, took about 30 minutes without the freezing the ice cream, total time 50 minutes.

I think this would be nice served with some light cookies, like a tuile, or some madeleines.

enjoy,
alison